One of the most frustrating things about a WordPress hack isn’t just the bad files. It’s the time gap between “we found it” and “we know what really happened.” That gap is where reinfections hide.
In this guide, I’ll show you how to run a forensic review after a WordPress compromise using logs, timestamps, and clear indicators. If you follow the steps (and pay attention to the dates), you can usually figure out the entry point, the attacker’s timeline, and whether you removed everything—or just cleaned the surface.
Quick definition: A forensic review is a careful investigation of what changed, when it changed, and how the change links back to an intrusion.
Start With the Forensic Goal: Stop Reinfection and Rebuild Trust
The first takeaway: your forensic review has one job—reduce risk while you learn the truth. A lot of teams treat cleanup as the “finish line.” Cleanup is just one step.
In 2026, common compromises still follow the same pattern: attackers get in, plant a backdoor or mailer, then wait for you to patch one issue while they keep another. If you don’t check your timeline, you can remove the visible malware and still leave the door open.
Here’s what I aim for in every case: confirm how they got in, confirm what they changed, and confirm what still has persistence (meaning it can come back even after you remove the first files).
Collect Evidence the Right Way (Before You Touch the Server)

The key takeaway: gather logs and evidence before you wipe anything. Changes you make during cleanup can destroy the trail you need.
In real incidents, I’ve seen teams delete old logs to save disk space. That’s understandable, but it breaks the investigation. If you’re trying to run a forensic review after a WordPress compromise, protect the evidence first.
What to preserve immediately
Prioritize the items below. If you can only grab a few, grab the web server logs and WordPress activity logs for the same time window.
- Web server access logs (Apache or Nginx). Copy them to a safe location.
- Web server error logs for the same dates.
- PHP error logs (if enabled) and PHP-FPM logs if you use PHP-FPM.
- WordPress admin activity logs (plugins, logins, user changes).
- Database change evidence (at least a dump of the DB, if your environment allows).
- File listings and timestamps for the WordPress root and key directories.
If you use a hosting provider or CDN, also check their event logs. Cloudflare, for example, keeps attack and request logs that can show the exact IPs and paths that were hit.
Copy, don’t move
When you copy logs, use a read-only approach. Don’t edit the originals. In my own work, I keep an “evidence” folder with date stamps like evidence_2026-04-27_apache_access so I don’t mix files later.
Logs You Need for a WordPress Compromise Forensic Review
The takeaway: logs are where the story starts. WordPress tells you what exists; logs show what happened.
For a forensic review after a WordPress compromise, you’re looking for three things: unusual requests, unusual authentication, and unusual file or plugin activity.
Web server access logs: find the attacker’s footsteps
Access logs are your map of every request. You’ll scan for patterns like sudden spikes, hits to strange PHP files, and repeated attempts to access admin pages.
Look for URLs like:
/wp-login.phpfrom odd IP ranges/wp-admin/and/wp-admin/admin-ajax.php- Requests to files you don’t recognize (for example,
/wp-content/uploads/suspicious.php) - Odd query strings (long base64, encoded payloads, strange parameters)
Then check for timing. A real attacker often works in bursts: login attempts, then file uploads, then plugin/theme changes, then a final sweep.
Error logs: catch the “why didn’t it work” signals
Error logs often show failed PHP executions, include errors, or filesystem issues. Even when the attack succeeds, you might see warnings that point to the malicious file name.
In one case I handled, the site started returning weird responses after a failed include. The attacker then replaced the file the same night. The error log line contained the filename and the path, and that was the fastest way to find the entry point.
WordPress logs: focus on logins and admin actions
If you have a plugin that records admin activity, it’s gold. If you don’t, your forensic options are still good, but they’re slower.
Look for:
- New admin users created
- Password resets
- Plugin/theme installs
- Changes to
wp-config.php - Unexpected updates to core files (WordPress core updates usually have a clear date range)
If you’re using Wordfence or another security plugin, check its “Live Traffic” and “All Options” history. As of 2026, these tools are better at showing when settings changed.
How to Use Timestamps Correctly (So You Don’t Chase the Wrong Window)

The key takeaway: timestamp mismatches are the #1 reason investigations go off track. You need to align time zones across logs.
WordPress uses site time (based on timezone_string or GMT offset). Your server logs might use UTC. Your CDN might also use UTC. If you compare them without adjusting, you can end up concluding the attacker changed files before they even logged in.
Align time zones: a simple method
Do this early. Pick a known event, like a successful login from the admin panel (from WordPress activity logs) or a plugin update. Find the matching entry in the access logs.
Then calculate the offset. For example:
- Admin log shows 14:02 local time
- Access log shows the request at 13:02 UTC
- So your offset is +1 hour for that day
Write the offset down. Keep it for the whole review.
Know what timestamps can lie about
Here’s the part people miss: attackers sometimes change timestamps or use tools that preserve file times. That’s why I don’t rely only on “modified time.” I pair file times with log evidence.
For example, if you see a suspicious file modified at 2:17 AM but the access logs show no requests to that folder at that time, it’s either a timestamp trick or the attack came from a different job (like scheduled cron, a compromised account, or another server).
Indicators of Compromise in WordPress (What to Look For)
The takeaway: you need indicators (IOCs) you can act on. IOCs are clues that something bad happened.
In WordPress incidents, the indicators are usually a mix of behavior (requests, logins) and artifacts (files, database changes).
File-based indicators (common places attackers hide)
When I do a forensic review after a WordPress compromise, I start with the places attackers love because they’re writable or overlooked.
Check:
wp-content/uploadsfor unexpected PHP or disguised scriptswp-content/pluginsandwp-content/themesfor new or modified fileswp-includesfor changes (core files should match the release version)wp-config.phpfor unexpected lines (even small edits matter)- Strange files at the WordPress root (for example:
/readme.txtor/tmp.php)
Watch for these script patterns:
- Files that call
base64_decode,eval,gzinflate, orstr_rot13in weird combinations - Scripts that write to the filesystem during page load
- Code that calls
mail()or opens remote URLs viacurl/file_get_contents
Important: Don’t just delete what looks bad and move on. Attackers often leave more than one entry point.
Database-based indicators (what changes inside MySQL)
WordPress stores a lot of “control” data in the database. Attackers target it because they can add persistence without touching too many files.
Pay close attention to:
- New admin users in the
wp_userstable - Changes in
wp_usermetathat link to roles or capabilities - Options in
wp_optionsthat are new or changed (especially cron-like tasks) - Inserted post content or spam pages (check
wp_postsfor new drafts or published pages)
If your site uses a different table prefix, adjust the table names. The pattern is what matters.
Behavior-based indicators (what the site does under load)
Behavior clues show up in access logs and front-end checks. For example:
- Requests from the same IP repeatedly trying different plugin upload paths
- Sudden spikes in 404s and 500s around the time the compromise started
- Outbound calls or redirects to domains you don’t recognize (if you notice this visually)
In a recent malware cleanup workflow, I’ve also seen sites injecting JavaScript into pages to redirect users to scam ads. The proof often shows up in the page source and in the list of recently modified theme files.
Step-by-Step: Run a Forensic Review After a WordPress Compromise
The takeaway: follow a repeatable process. That reduces mistakes when you’re under stress.
Here’s the exact workflow I use in many cleanup engagements. Adjust for your setup, but keep the order.
1) Create a timeline using logs first
Start with the “when.” Pull access logs for at least 7–30 days around the suspected date. If you’re not sure when the attacker started, start with the last known clean date (for example: the date a client says the site was normal).
Sort requests by IP and by URL paths. Mark:
- First successful login to
/wp-login.php - First time a plugin/theme upload happened
- Any hits to suspicious PHP files
- Any bursts before the site started showing symptoms
2) Validate the WordPress version and file integrity
The “what” needs a baseline. Compare core files to the expected WordPress version. You can do this with checksum tools or by comparing a clean install.
In practice, I often do a focused integrity scan of:
- Core files in
wp-admin,wp-includes - Recently changed plugin/theme files
- Files added within the suspicious window
Don’t assume all bad files are in plugins. Some compromises change core or drop loader files in odd places.
3) Identify the entry point (how they got in)
The entry point is usually one of these:
- A stolen admin password (often from weak passwords or reused credentials)
- Unpatched plugin/theme vulnerability
- Compromised hosting credentials or FTP/SFTP access
- Malicious admin session created via brute force
Use logs to confirm. For example, if access logs show many login attempts from one IP, brute force is likely. If WordPress logs show a new admin user was created, it’s likely an account takeover or an injected admin workflow.
4) Map persistence: what keeps the attack alive
This is where most cleanups fail. Attackers often set up a way to re-add malware after removal.
Common persistence methods in WordPress include:
- Scheduled events in WP-Cron that re-download payloads
- Web shells saved in uploads and triggered by hidden requests
- New “dropper” plugins that recreate other files
- Changes to
wp-config.php(like altered salts or added include files)
If you remove the obvious file but the scheduled task still runs, you’ll see the problem come back quickly.
5) Remove with intention (and check what returns)
The key takeaway: removal is not “delete and hope.” Remove the malicious files and also the persistence mechanisms.
I recommend this order:
- Disable suspicious plugins/themes from the file system
- Remove backdoor files and web shells
- Clean database changes (users, options, injected pages)
- Reset credentials and sessions
- Reinstall clean plugin/theme versions if they were used as the attack path
After cleanup, monitor logs for at least 24–72 hours. If you see the same suspicious requests coming back, you didn’t fully stop the activity.
6) Confirm cleanup with evidence, not guesses
Do quick checks that match your findings:
- No more requests to the removed PHP files
- No new admin users created
- No new plugin installations
- No recurring cron-like behavior
- Search console and browser safe browsing show clean results (when applicable)
When you can point to those “no longer present” signals, you can say the work is done with real confidence.
People Also Ask: Common Forensic Review Questions
How long does a forensic review take after a WordPress compromise?
For most small business sites, I see a timeline of 4–10 hours for a good first-pass review. If the compromise is complex (multiple payloads, several persistence points, or a deep database injection), it can take 1–3 days.
The fastest reviews happen when you have clean backups, good logs, and a clear “last known good” date.
What logs matter most for a WordPress hack investigation?
Top priority is web server access logs, then server error logs, then WordPress admin activity logs. Those three together usually reveal entry points and follow-on actions.
If you don’t have WordPress activity logs, server logs become even more important, and file timestamp work becomes more careful.
Should I wipe the server or only clean WordPress files?
If there’s evidence the attacker modified the server environment (not just WordPress), wipe is the safer choice. That includes tampered web server configs, suspicious changes outside the WordPress directory, or signs of a broader compromise.
If the issue is limited to WordPress and you have strong log evidence and backups, cleaning and rebuilding WordPress from known-good sources can be enough. The deciding factor is persistence and scope.
Can a hacker come back after we remove the malware?
Yes, and it happens a lot. The main reason is persistence—cron tasks, re-download scripts, or another infected plugin that you missed. That’s why the final step is to watch logs after cleanup.
Do I need a firewall or just malware cleanup?
You need both, even if the site looks clean after removal. A firewall (or at least strong access controls) stops the next automated attack.
But don’t rely on a firewall alone. Firewalls don’t remove an existing backdoor. Cleanup first, then prevention.
What Most People Get Wrong During WordPress Forensics
The takeaway: the biggest mistakes are usually human, not technical. They happen when you move too quickly or assume symptoms are the cause.
Mistake 1: Cleaning before copying logs
If you delete old files or rotate logs during cleanup, you remove the very evidence you need to understand the timeline. This also slows down future incident response because you can’t compare “before vs after” anymore.
Mistake 2: Assuming file timestamps are “truth”
Attackers can touch timestamps, and backup tools can also rewrite them. I always pair file times with access log entries and WordPress actions.
Mistake 3: Fixing one vulnerability while ignoring credentials
If a password was stolen, patching a plugin doesn’t stop the attacker from logging in again. In real cases, I’ve seen teams patch the plugin, then the same account keeps creating malicious users and re-installing payload plugins.
So: rotate credentials and reset sessions as a standard step after any confirmed compromise.
Mistake 4: Leaving compromised themes/plugins in place
Even if the malware file is removed, the “infected” plugin can still be the entry point or contain hidden logic. Reinstall from trusted sources (or remove and replace) when the compromise touches code in themes/plugins.
Tools and Tactics We Use in Real WordPress Malware Removal
The takeaway: you want tools that support your investigation, not tools that guess.
In the field, I like a layered approach: security scans for quick hits, then manual review for proof.
Security scanners (helpful, but don’t trust them blindly)
Tools like Wordfence or similar scanners can point you to suspicious files and known malicious patterns. They’re great for triage.
But for forensic work, you still need logs and timestamps. Scanners sometimes miss custom malware or new variants, especially if the attacker renamed things well.
Log analysis workflow
I’ll often export access log entries for suspicious IPs into a spreadsheet or use simple command-line filters. The goal is to create a “request timeline” that shows what the attacker did in order.
Then I match that timeline with file modifications and WordPress admin events.
File integrity and diff checks
Integrity checks are useful when you have a clean reference (like a fresh install of the same WordPress version). They help you spot modified core files.
Still, don’t stop at “unknown file found.” Confirm the file’s role using logs and content review.
Prevention After Forensics: Make the Next Compromise Harder
The takeaway: forensics is how you learn; hardening is how you keep it from happening again.
After cleanup, I recommend you tie prevention directly to what you found. If the logs show brute-force logins, tighten login controls. If the entry was via a plugin flaw, update and remove weak plugins.
Concrete hardening steps that map to real incidents
- Force strong logins: reset passwords and remove old admin accounts.
- Turn on 2FA for all admin users (not just one person).
- Limit login attempts using server rules or security plugins.
- Remove unused plugins/themes (inactive doesn’t mean safe).
- Keep WordPress and dependencies updated—core, plugins, themes, PHP.
- Review scheduled tasks and WP-Cron behavior after cleanup.
If you want extra guidance, our site also covers WordPress hardening tips to reduce common attack paths and a hack case study showing how small admin changes caused big damage.
For teams doing ongoing maintenance, the website maintenance checklist for WordPress security is a good follow-up after you’ve finished the emergency work.
When to Bring in a Specialist (And What to Ask First)
The takeaway: some incidents are worth paying to solve correctly. Not because “mystery” is involved, but because time matters and mistakes are expensive.
I recommend getting help when you see signs of:
- Multiple backdoors or unknown persistence points
- Server-level changes outside the WordPress folder
- Outbound malware behavior (email sending, traffic redirection, remote downloads)
- Search engine warnings or repeated reinfections despite cleanup
If you hire a service, ask how they handle evidence (logs and timestamps) and how they validate cleanup (not just “scan says clean”).
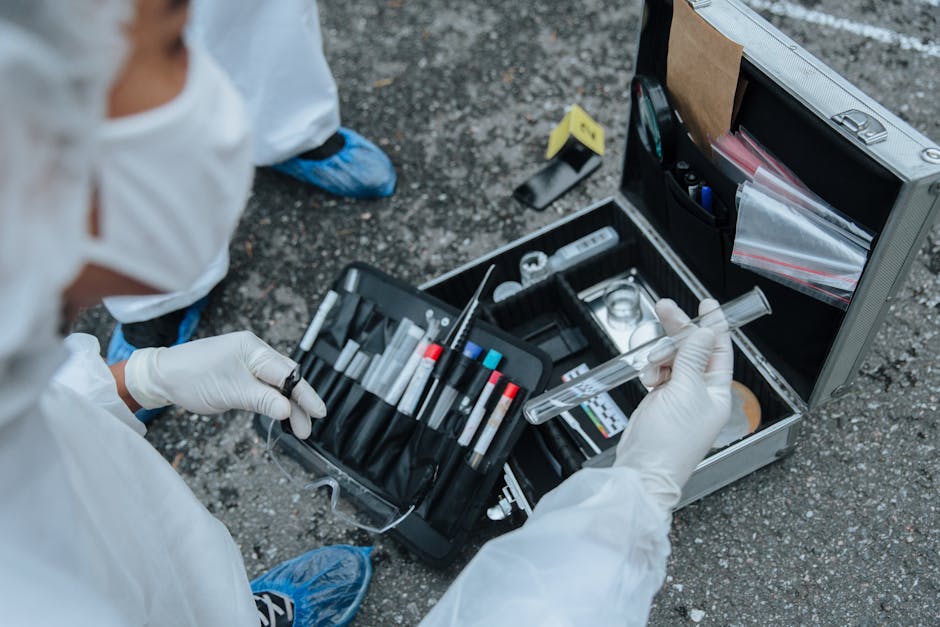
Featured Image Alt Text
Note: Use this as your featured image alt text when you upload the image:
Alt text: Forensic review logs and timestamps for a WordPress compromise investigation
Conclusion: Your Cleanup Plan Needs a Timeline
If you take one thing from this, make it this: run a forensic review after a WordPress compromise by building a timeline from logs, aligning timestamps, and using indicators to confirm persistence is gone.
When you do that, you stop guessing. You stop removing the same malware twice. And you rebuild your WordPress site with proof—so your next incident response starts with clarity, not panic.